BME100 f2014:Group25 L6
| Home People Lab Write-Up 1 | Lab Write-Up 2 | Lab Write-Up 3 Lab Write-Up 4 | Lab Write-Up 5 | Lab Write-Up 6 Course Logistics For Instructors Photos Wiki Editing Help | ||||||||||||||||||||||||||||||||||||||||||||||||||||||||||||||||||||||||||||
|
OUR COMPANY
LAB 6 WRITE-UPBayesian StatisticsOverview of the Original Diagnosis System - The 68 patients were split between the 34 teams of 6 students. Each team got assigned 2 patients each and given DNA samples to analyze for disease associated SNPs. In order to prevent errors 3 samples from each patient were tested and a positive and negative control were given to each group. Each group also had to do a pipette challenge to ensure that the micro-pipette is used correctly and each group had to calibrate the fluorimeter using known controls. Three pictures were used for the ImageJ calculations and the average of the three were used for the final results. Finally each teams results were compiled into one spreadsheet to be used by the entire class. Calculation 1
Calculation 2
Calculation 3
Calculation 4
Computer-Aided DesignTinkerCAD TinkerCAD is a browser based computer aided design program that allows you to create 3-dimensional models and images. The program sacrifices many of the specialized and customizable features that similar programs like SolidWorks offer in exchange for being highly intuitive and user friendly. Various STL files containing basic components for the basic OpenPCR machine were downloaded off of Thingiverse, a website that shares 3-dimensional designs that can be printed using a 3D printer. These components were used to create an new OpenPCR machine that addressed the shortcoming of the original.
Our Design
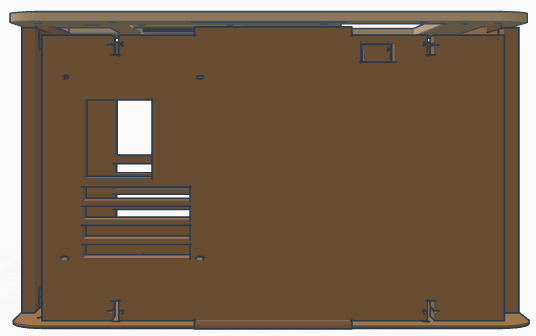
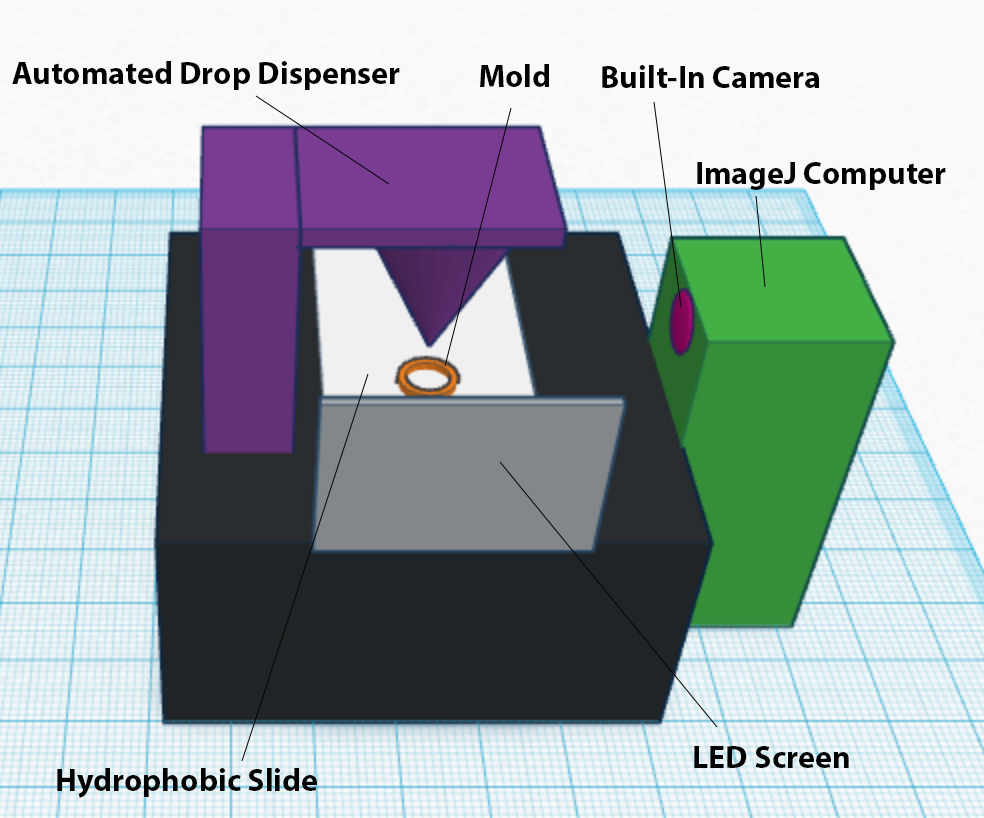
The new design will have a mounted camera which is fixed to the device. The device will have software which will automatically process the images and controls to output values on a screen. The device will be fitted inside a box, which is efficient for blocking out outside light. It will have automated slide adjustment. PCR Machine Original PCR Top-View Original PCR Side-View Modified PCR Top-View Shows the addition of the led-light as well as an increased size of slot for the reagent tray. Modified PCR Fan-View Shows the addition of the fan which is used for cooling. Modified PCR Side-View Shows the overall larger size of the PCR machine as well as highlights the color customizability.
Feature 2: Consumables KitCurrently, the Consumables Kit used for PCR is wasteful and expensive. To reduce the amount of resources and supplies being wasted, our company has designed a new micropipettor. Everything is the same, except, the tips will be stored in a circular cartridge that can hold up to ten 500μL tips. The tips will come sterilized, via autoclave, and wrapped in an aluminum foil seal. When the cartridge is put into the revolving chamber inside of the base of the micropipettor, the pressure will push through the aluminum foil seal, keeping the tips sterile, while also reducing the amount of waste used in packaging.
Feature 3: Hardware - PCR Machine & FluorimeterThe new PCR machine and fluorimeter will operate in the same fashion as the old ones except with the new modifications. Changes to Open PCR Machine The new design for the Open PCR machine includes the addition of a light indicator on the top of the machine, a cooling fan, an overall larger machine, a slot for a bigger tray to hold PCR reactants, as well as color customization. The light indicator at the top of the PCR machine would light up blue when the PCR machine is finished, or red if the PCR machine has encountered problems. This is necessary as, sometimes, the thermocycler could fail thus ruining the PCR reactants, the light would indicate to the user if the PCR machine has encountered this problem. Also in order for the PCR machine to be able to cool off much more efficiently a fan has been added; the fan would turn off when the PCR machine is trying to warm up. This is necessary as if often takes a longer time to cool down then to heat the PCR machine up, the fan would help save time. Furthermore with a bigger PCR machine and a bigger slot at the top of the PCR machine (the slot which holds the tray with the PCR reactangs), it is possible to be more efficient as the PCR machine is able to process more reactants with a bigger tray. Finally, we have given the user the option of color customization when buying the PCR machine in order to make the product more personal and memorable.
| ||||||||||||||||||||||||||||||||||||||||||||||||||||||||||||||||||||||||||||


