How To Make A MEGA-plate
From OpenWetWare
Jump to navigationJump to search
This page provides step-by-step instructions for the MEGA-Plate experiment for evolving and tracking microbial evolution on antibiotic gradients (Baym, et al., Science, 2016b)
This guide is divided into sections:
Design of a typical MEGA-plate experiment
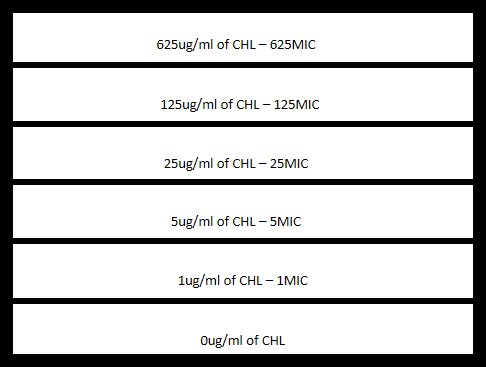
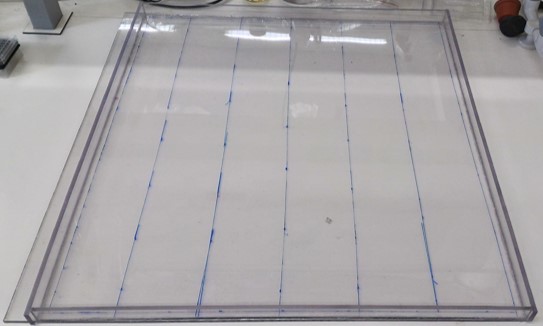
- Example design of regions on the plate (Here for example: 6-step Chloramphenicol gradient experiment).
Assembly of a MEGA-plate
Materials (for a 62x82cm plate)
- Polycarbonate for the base of the plate:
- Plexiglas sheet 30cm X 60cm X 0.3cm
- Polycarbonate for the walls of the plate
- Polycarbonate sheet 62cm X 82cm X 0.6cm
- Heated glass for the lid
- Alternatively acrylic sheet for the lid (superior optical clarity to polycarbonate)
- Sci-Grip adhesive (if not available, Dichloromethane works -- you just need an appropriate solvent for welding acrylics)
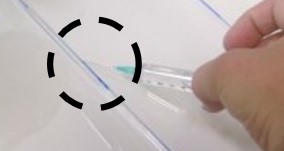
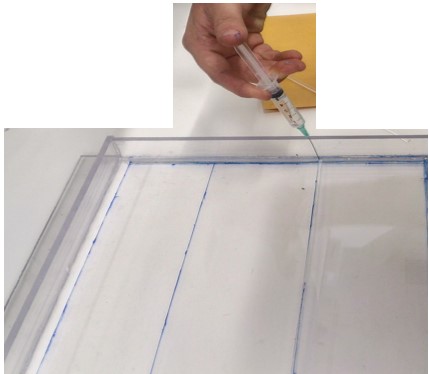
- Syringe and Needle- For spreading the glue directly on the right area.
Procedure
Preparing an appropriate space for imaging
Setting up a MEGA-plate experiment
Materials
- 9 two-liter jars or Erlenmeyer flasks (appropriate for autoclaving)
- Agar (http://www.bd.com/ds/productCenter/214010.asp#)
- LB Broth (http://www.bd.com/ds/productCenter/240220.asp)
- Appropriate pipettes for adding antibiotics to media
- Blowtorch (e.g. a creme brûlée torch)
- Useful, but not strictly necessary
- IR touchless thermometer
Procedure
- Sanitize the plate by filling it with a dilute bleach solution (~5-10%) overnight
- Dump out bleach solution, do not wipe out residual traces.
- Optional: further sanitize with UV light for around 1 hour. (This is not clearly necessary, and some plastics can leach out reactive compounds when exposed to UV.)
- Prepare 9 liters of agar, either in 2L jars or Erlenmeyer flasks:
- 5 of them with 2L with 2% LB+Agar.
- 2 of them with 2L with 2% Agar.
- 2 of them with 2L with 0.27% Agar.
- Do autoclave 40 min in 121c twice.
- When the bottles are cooling put the plate in the designate place.
- After the liquids are cold enough add the antibiotics.
- Pour the first layer to the right well and let it solidify.
- Pour the second layer all over the plate and let it solidify.
- Pour the third layer all over the plate and let it solidify.
- Inoculate the bacteria.
Sampling from and disposing of a MEGA-plate experiment
Potential failure modes and troubleshooting
Procedure for building the plate
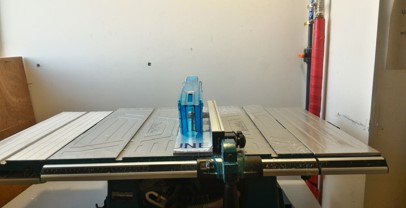
- Use a table saw to cut the frame and the bottom of the plate from the XXX.
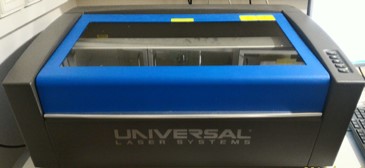
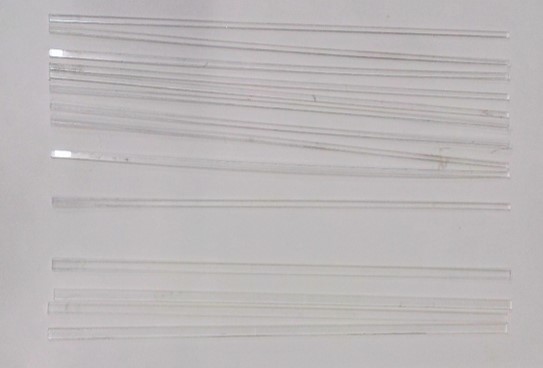
- Use laser cutter to cut the gradient barriers for your design:
XXX
- 8 pieces of 40cm X 1.27cm
- 4 pieces of 40cm X 2cm
- 2 pieces of 60cm X 2cm
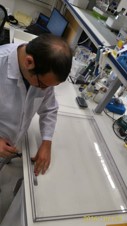
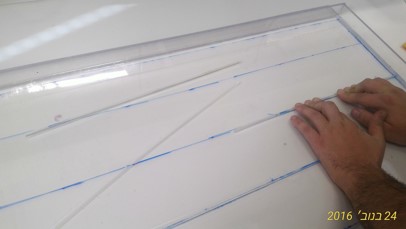
- Glue the By using syringe and needle glue the pieces like the plan design:
Draw the design of the plate on it.
Put the cut parts in the right place.
Glue them by syringe and needle containing dichloromethane.
- Check for leaking and fix if needed by re-gluing.
Procedure for imaging the plate
- Should you wish to take time-lapse movies, we have had success imaging at regular 10-15 minute intervals for the duration of the experiment
Notes
Please feel free to post comments, questions, or improvements to this protocol. Happy to have your input!
- List troubleshooting tips here.
References
Relevant papers and books
- Baym, M., Lieberman, T. D., Kelsic, E. D., Chait, R., Gross, R., Yelin, I., & Kishony, R. (2016). Spatiotemporal microbial evolution on antibiotic landscapes. Science, 353(6304), 1147-1151. doi:10.1126/science.aag0822[1]
Contact
This page was developed by Michael Baym and Rotem Gross from the Kishony Lab.
For questions, please contact:
- Michael Baym (mhbaym@gmail.com)
- Rotem Gross (rotemgross1@gmail.com)
- Roy Kishony (rkishony@technion.ac.il)
