User:Ginevra Cochran/Notebook/Physics 307L/Charge to mass ratio
SJK 22:49, 21 December 2010 (EST)

This notebook and the lab seem a bit rushed.
Purpose
The goal of this lab was to measure the mass-to-charge ratio of the electron (using Helmholtz coils) by measuring the radii of electron beams at different currents and voltages, and to become familiar with the behavior of charged particles in a magnetic field.
Equipment
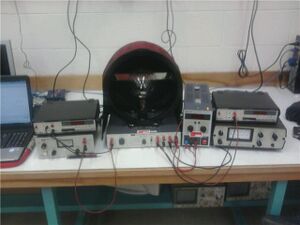
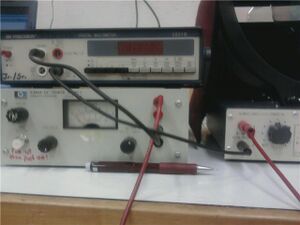
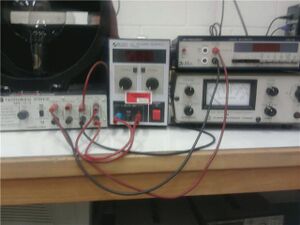
- Hewlett Packard DC Power Supply (Model 6384A, 4-5.5V, 0-8A)
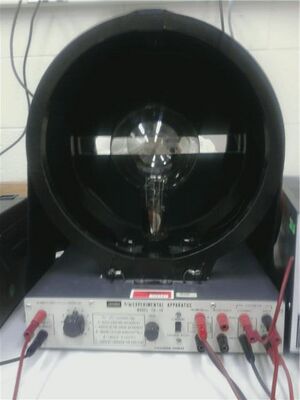
- e/m experimental apparatus (Model TG-13)
- SOAR corporation DC Power Supply (Model 7403, 0-36V, 3A)
- Gelman Instrument Company Deluxe Regulated Power Supply (500V, 100mA)
- 2 BK Precision Digital Multimeters (Model 2831B)
Safety
Check cords for electrocution risks, and do not injure the glass in the e/m setup.
Setup
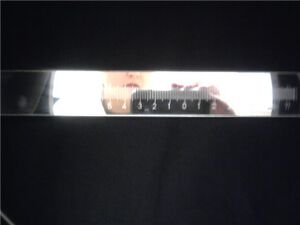
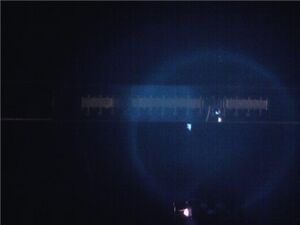
We followed the setup in Professor Gold's manual. We used BNC cables to connect a 6-9V DC supply rated at 2A to the Helmholtz Coil jacks, and connected a multimeter in series with the supply and the coil jacks. We connected the 6.3V power supply rated at 1.5 A to the heater jacks, and a high voltage source at 150-300V DC to the electrode jacks. We connected the DC voltmeter at the jacks labeled "voltmeter" on the base panel. We set the current adjust control to zero and set the switch on the panel to the e/m position, allowing the electron gun filament to heat up for a few minutes after we turned on the heater supply. We applied a 200V DC voltage from the high voltage supply to the electrodes and turned off the room lights. We adjusted the current control until the beam formed a circle by turning on the coil current and increasing the current adjustment control. We then used the ruler behind the bulb to measure the radius of the loop of the beam.
Data
Analysis
According to Professor Gold's Manual, the formula for the strength of magnetic field generated by a Hemholtz coil is: [math]\displaystyle{ B=\frac{\mu R^2NI}{(R^2+x^2)^{3/2}} }[/math] where [math]\displaystyle{ x=R/2 }[/math], N = 130, [math]\displaystyle{ \mu=4\pi\times10^{-7}\frac{weber}{amp-meter} }[/math] and R = 0.15 m.
- We equate the magnetic force [math]\displaystyle{ {F}_{B}={q}{v}{B} }[/math] with the centripetal force [math]\displaystyle{ {F}_{c}={m}\frac{v^2}{r} }[/math], and find that [math]\displaystyle{ \frac{e}{m}=\frac{{2}{V}}{{r}^{2}}\frac{{(R^2+x^2)}^{3}}{{({u}{R}^{2}{N}{I})}^{2}} }[/math].
Our data produced the following result by direct calculation: [math]\displaystyle{ e/m = 1.539391 +/- 0.0261801*10^11 }[/math].
Error
According to Professor Gold's Manual, the currently accepted value of [math]\displaystyle{ e/m }[/math] is [math]\displaystyle{ 1.76\times10^{11}\frac{C}{kg} }[/math]. Our percent error is as follows:
direct calculation
<%error = 12.351%
Sources
Cristhian Carrillo was my lab partner for this experiment. I referenced Professor Gold's manual. Katie Richardson helped us with the circuit setup, and we referenced Alex Andrego's and Anastasia Ierides' lab notebook for photos and setup instructions.